How to Make a Stunning Suncatcher: A Crafting Journey
As a passionate crafter, I've always been drawn to the beauty and magic that sunlight creates when it dances through colored glass or shimmering beads. One of my all-time favorite DIY projects is making suncatchers. Not only are they captivating decorations for your home, but they also hold special memories and can even work as thoughtful, handmade gifts.
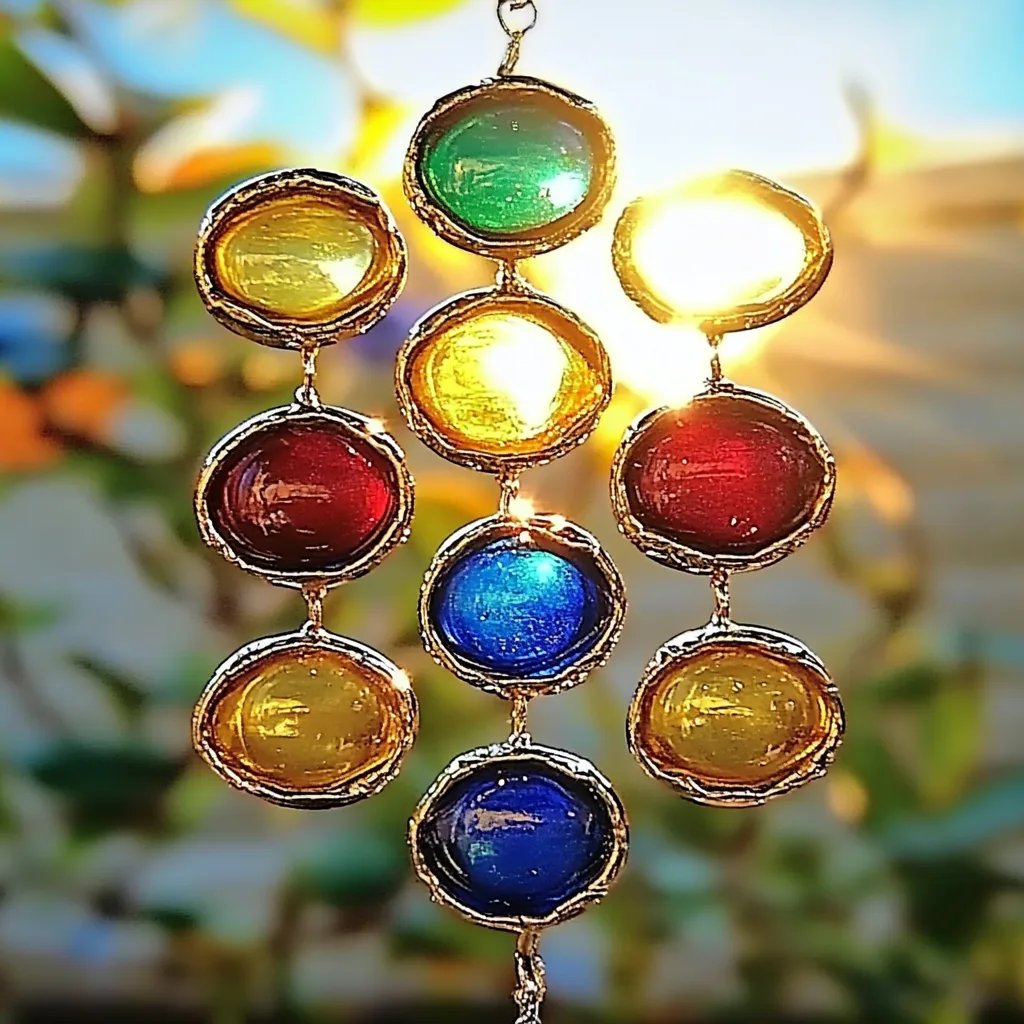
Suncatchers are colorful ornaments that catch sunlight, creating dazzling displays of color in your space. They can be hung in windows, on porches, or even in trees to add a touch of whimsy and cheer. Whether you want to brighten your home or create a unique gift for a loved one, suncatchers are an engaging project suitable for crafters of all skill levels.
Why Are Suncatchers So Popular?
Suncatchers have surged in popularity for various reasons. Firstly, they serve as a beautiful, free-spirited addition to your home decor. Additionally, they’re versatile: you can create them in countless styles, from simple designs to complex mosaics. They’re a fantastic way to enjoy the play of light within your space, and they make for wonderful activities to share with children, introducing them to the joys of crafting and creativity.
Materials You'll Need
Before we dive into the crafting process, let’s gather our materials. I'll guide you through making a traditional suncatcher using colored resin, but you can easily adapt this method with other materials. Here's what you'll need:
Basic Materials
- Clear resin (epoxy resin kit) – I recommend a beginner-friendly resin like ArtResin or any similar brand.
- Molds (silicone molds or flat PVC sheets)
- Color pigments (mica powder works beautifully)
- Glitter (optional for some extra sparkle)
- Mixing cups (disposable plastic cups work well)
- Stirring sticks (popsicle sticks are perfect)
- Protective gloves (safety first!)
- Craft knife (for trimming, if necessary)
- Hanging chain or jewelry wire (for displaying your suncatcher)
Optional Decorative Elements
- Dried flowers (e.g., lavender, rose petals)
- Seashells
- Beads or small gems
To ensure the best results, I also recommend working in a well-ventilated area to avoid inhaling any fumes from the resin.
Step-by-Step Guide to Making a Suncatcher
Step 1: Prepare Your Workspace
First things first—create a clean and organized workspace. Lay down some newspaper or a silicone mat to catch any spills. Make sure you have good lighting, as this helps you to see the colors accurately. Having everything at arm's reach will make the process smoother.
Step 2: Mix Your Resin
Carefully read the instructions on your resin package, as the mixing ratios may vary. Typically, you'll mix the resin and hardener at a 1:1 ratio. Pour equal parts of resin and hardener into your mixing cup—don't forget to wear your gloves!
Use a stir stick to mix until the mixture becomes clear and well-combined. Tip: Avoid mixing too vigorously, as this can introduce bubbles that may affect the final look of your suncatcher.
Step 3: Add Color and Decorative Elements
This is where the magic happens! Divide the mixed resin into separate cups if you plan to create different colors. Add a small amount of color pigment to each cup and stir thoroughly until you achieve your desired vibrancy—this is all about your personal taste.
If you wish to add dried flowers, glitter, or beads, now's the time to do it. Create a design or pattern in the mold using the mixture. You can layer colors, pour them in creatively, or swirl them together. Important Note: Remember that less is often more; if you add too many decorations, you might obscure your suncatcher's beauty.
Step 4: Pour the Resin into Molds
Carefully pour your resin mixture into the prepared molds. Fill them up to a reasonable level, but avoid overflow. If you’re creating multiple layers, let each one cure for a short time before adding the next layer to achieve beautifully distinct looks.
Step 5: Remove Bubbles and Let Cure
After pouring, gently run a heat gun or torch over the surface to pop any bubbles that may have formed. This is a game-changer in achieving a crystal-clear finish. Allow the resin to cure as per the manufacturer’s instructions—usually 24 hours.
Step 6: Demold and Finish Your Suncatcher
Once fully cured, carefully remove your suncatcher from the mold. Sometimes, if you notice rough edges, you can trim them with a craft knife. If you want to add a polished finish, sanding is also an option, but it can create dust, so do this outdoors or in a well-ventilated space.
Step 7: Attach a Hanging Mechanism
Select a spot for your hanging chain or wire. You can drill a small hole in the top of the suncatcher or attach the chain with strong adhesive. Make sure everything is secure before hanging it in your desired location.
Common Pitfalls and How to Fix Them
- Bubbles in the Resin: If bubbles do form during the mixing or pouring process, don’t panic! Use a heat gun or a small torch to gently pass over the surface and pop those pesky bubbles.
- Sticky Resin: If your resin feels tacky after curing, it may not have fully cured, possibly due to incorrect mixing ratios. Be patient and allow it a bit more time to cure. If it remains sticky after a day, you may need to sand it down and apply another layer.
- Uneven Colors: If colors don't blend well or look uneven, consider that color pigments can behave unpredictably. A small test batch can help you gauge how the colors interact.
Creative Variations
Do you want to switch things up? Here are a few ideas:
- Ocean-Inspired Suncatcher: Use shades of blue and green and add seashells or sand for a beachy vibe.
- Seasonal Themes: Adapt your colors and decorations based on the season. Autumn leaves or pastel colors can set the mood beautifully.
- Personalized Gifts: Add initials or tiny charms embedded in the resin for a charming, custom touch.
Safety Precautions
As with any crafting project, safety should be your top priority. Always work in a well-ventilated area, and take care when handling tools and materials. Keep materials away from children and pets, especially when using small items like beads.
Final Thoughts
Creating suncatchers has brought joy and character to my home, transforming ordinary light into extraordinary visuals. As you embark on this delightful crafting journey, remember to enjoy the process. Each suncatcher tells a story and reflects your unique style.
I hope you'll love experimenting with colors, shapes, and elements as much as I have. Remember, whether you’re crafting alone or with friends and family, each suncatcher you make holds the potential to brighten someone's day— including your own! Happy crafting!