Crafting a Blue Bead Ocean Suncatcher: A Step-by-Step Guide to Bringing the Ocean's Magic into Your Home
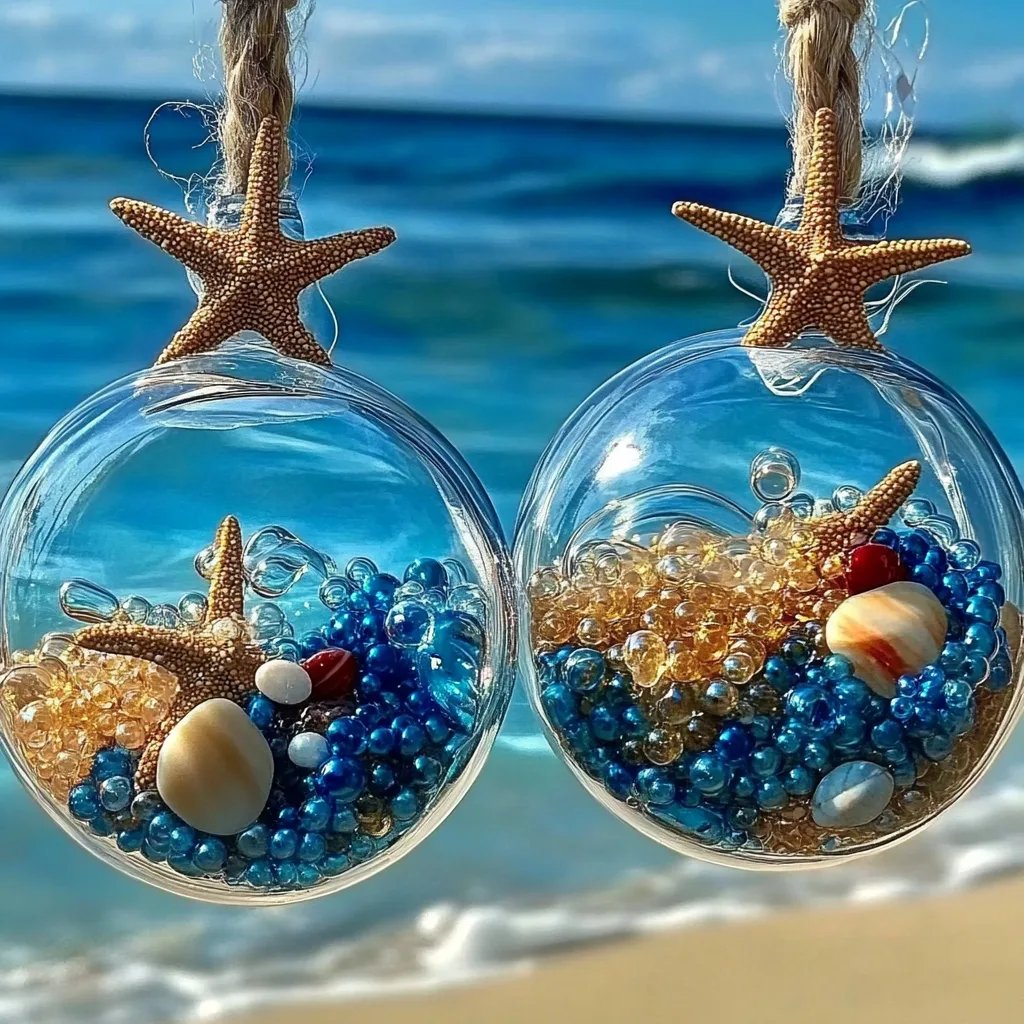
As an avid crafter, I absolutely adore creating pieces that not only beautify my space but also bring joy and a sense of accomplishment. One of my favorite projects is making a Blue Bead Ocean Suncatcher. These charming creations capture the essence of the ocean with shimmering blues and the gentle sparkle of glass beads. They are incredibly popular for several reasons: they’re visually stunning, easy to customize, and make delightful gifts or personal decor. Whether hung in a window to catch the sunlight or used as a garden ornament, these suncatchers radiate a vibrant summery vibe all year round.
Making a suncatcher is a wonderful way to spend an afternoon—ideal for a quiet day at home, or as a fun activity with kids or friends. So gather your materials, and let me guide you through each step of the process!
Materials You'll Need
Before we dive into the crafting process, let’s make sure you have everything at hand:
- Blue Glass Beads: Choose a variety of sizes and shades—this adds dimension and character to your suncatcher.
- Wire: Use 20-gauge wire. It's sturdy enough to hold the beads without being too difficult to work with.
- Wire Cutters: Essential for cutting your wire to the desired lengths.
- Round Nose Pliers: These will help you create loops and bends in the wire with precision.
- Crimp Beads (Optional): For securing the beads in place if you’re creating a more complex design.
- Fishing Line: This helps you hang your suncatcher once it's completed or to string multiple beads together for a cascading effect.
- Embroidery Hoop (Optional): For a structured base, you can use a small embroidery hoop as a frame for your suncatcher.
- Nail Polish or Clear Sealant: To finish off and protect your beads, if desired.
Step-by-Step Instructions:
Step 1: Choose Your Design
Before you start, sketch out your design on paper. This will help guide you in the assembly process and ensure you have a pleasing composition.
Tip: Consider creating a gradient of colors, from dark navy blue at the bottom to light aqua at the top—this mimics ocean waves beautifully!
Step 2: Cut the Wire
Using your wire cutters, cut two lengths of wire, about 24 inches long. This gives you ample room to work with as you string the beads.
Why does this matter? If the wire is too short, you’ll find yourself struggling to manipulate the beads or create loops.
Step 3: Create Loops at the Ends of Your Wire
Using your round nose pliers, make a small loop at one end of each wire. This is crucial because it will prevent the beads from slipping off.
Pro Tip: To create a secure loop, wrap the wire around the tip of the pliers about 2-3 times before cutting the excess.
Step 4: String Your Beads
Now, here comes the fun part! Begin stringing your blue beads onto the wire. Play with different colors, sizes, and textures for a unique look.
Caution: Don’t overcrowd the wire; you need room to create loops at the other end.
Step 5: Create a Loop at the Other End
Once you’ve strung your beads, use the round nose pliers to create another loop at the opposite end of the wire. This secures the beads in place.
What Could Go Wrong?
If your beads don't stay in place or fall off, double-check the loops you created; they need to be tight enough to hold firm, but not so tight that they break the wire.
Step 6: Repeat
Repeat steps 3 to 5 with the other piece of wire. Feel free to vary the bead selection for each wire to create a dynamic look.
Step 7: Connecting the Wires (Optional)
If you’ve created two separate strands, you can now twist them together in a way that resembles drifting seaweed or ocean waves. This adds a whimsical touch!
Step 8: Attach the Fishing Line
Cut a length of fishing line (at least 12 inches) and tie it securely to the loop at the top of your suncatcher for hanging.
Tip: Use a few knots to ensure it’s secure, and add a drop of clear nail polish to reinforce the knot.
Step 9: Finishing Touches
If desired, apply a thin layer of clear sealant over the beads to protect them from scratches or fading, especially if you’ll be displaying your suncatcher outdoors.
Step 10: Hang It Up!
Choose a sunny spot in your home—test out different windows to see where the light shines through the best. Alternatively, hang it in your garden among the flowers for a lovely outdoor decoration.
Creative Variations
- Add Sea Shells: Incorporate a few small sea shells or charms related to the ocean to create interest and complement the theme.
- Mix & Match Colors: While blue is the star of this project, shades of green or white can be combined for a different interpretation.
- Layering Technique: Create multiple layers with different lengths of fishing line for a dynamic cascading effect.
Safety Warnings
Always be careful with your wire cutters and pliers. Keep them out of reach of small children, as pointed tools can pose a safety risk during crafting sessions.
Personal Anecdotes
I remember the first time I made a suncatcher; the joy of seeing the light reflecting through my creation was incredible. I hung it in my kitchen window, and every time the sun hit it, it sparked delightful conversations with guests about my crafting hobbies. This simple project allowed me to combine creativity with nature's beauty, and I hope it offers you the same joy!
Conclusion
Creating a Blue Bead Ocean Suncatcher is not just a crafting project; it’s a way to bring a piece of the ocean into your living space. I encourage you to personalize it, experiment, and let your creativity flow like the waves of the sea. Whether you choose to keep it for yourself or gift it to someone special, you’re sure to see the magic come alive every time the sun shines through it. Happy crafting!